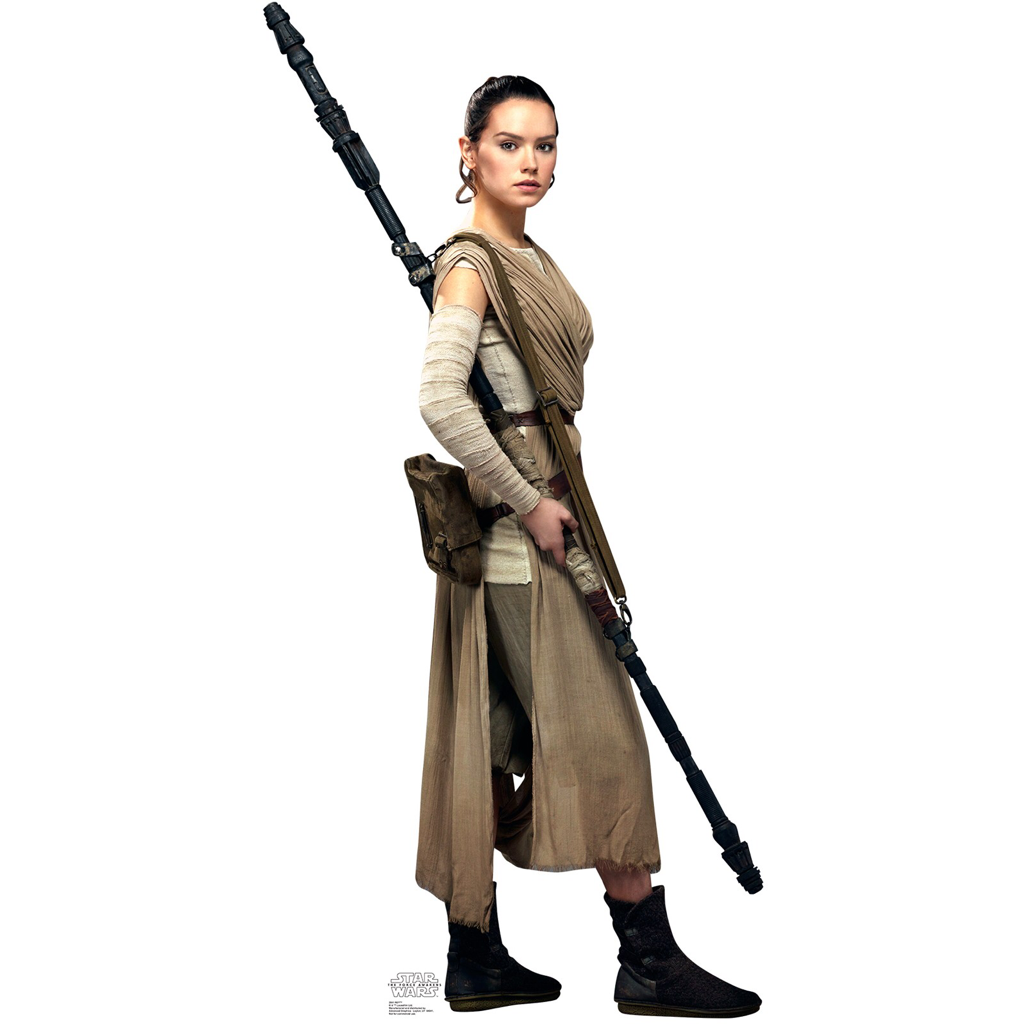
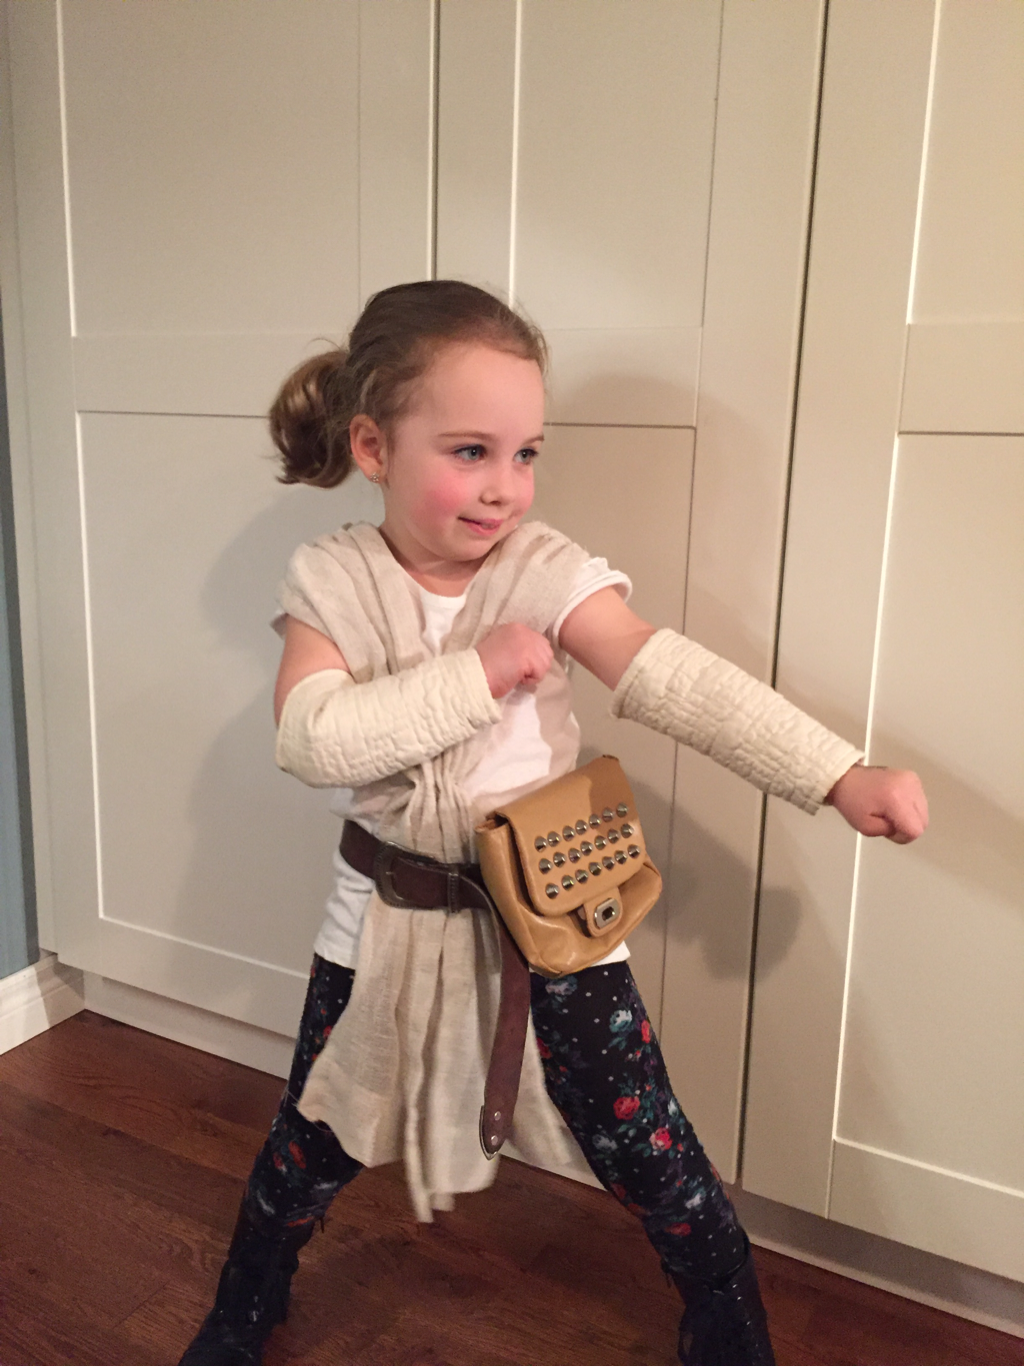
This is Rey, the newest hero from Star Wars: The Force Awakens. I was unable to find costumes for two daughters, so I decided to make them myself.
Rey's Sleeves
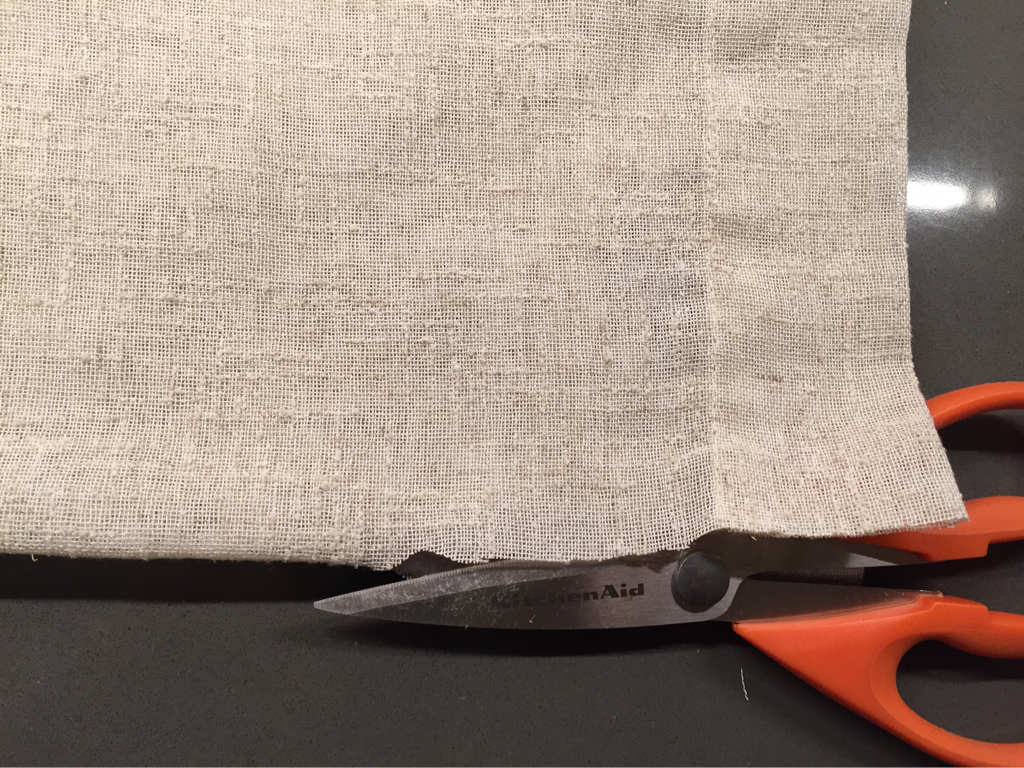
Rey's sleeves are made of what look like bandages in the movie, but that seemed a little to difficult for a child to put on. I needed something easy to put on and to take off. I found this pillow sham at my local thrift store for 1,99$ and thought not only is the colour good, but the texture would be perfect for this project.
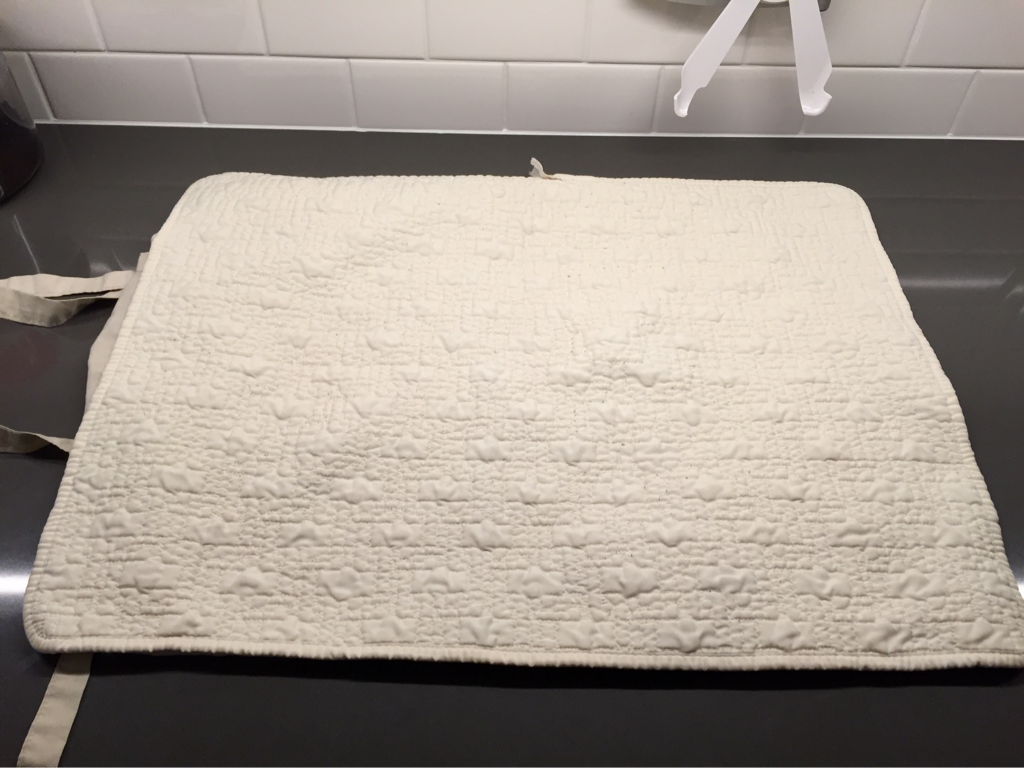
First thing I did was measure the length of my daughter's arms and cut a straight line across the sham (middle vertical cut below). Then I measured my daughter's wrists and upper arms, and cut at a diagonal (upper cuts below).

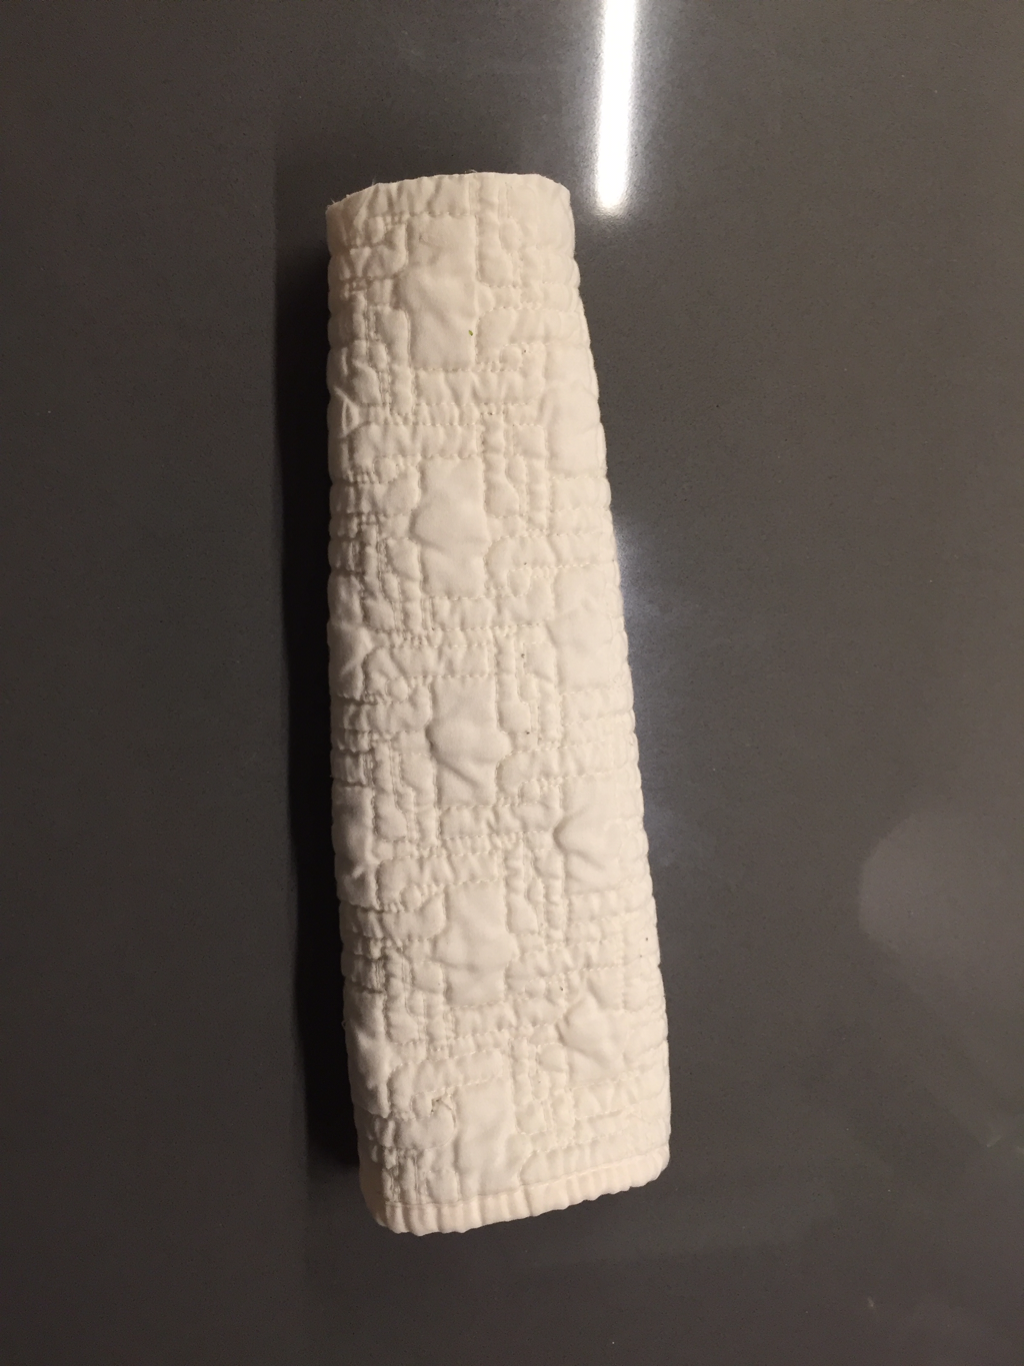
This is the reverse of one sleeve. I then sewed the unfinished edges. Next I folded the fabric in half, unfinished side up. Sewed the length of the fabric, creating a closed sleeve cuff. Then put the fabric right side up and voilà!

The top of the picture below is the wrist part of the sleeve (slightly narrower) and the bottom is the upper arm part of the sleeve. Repeated the same steps for the other sleeve.

Rey's Belt and Satchel
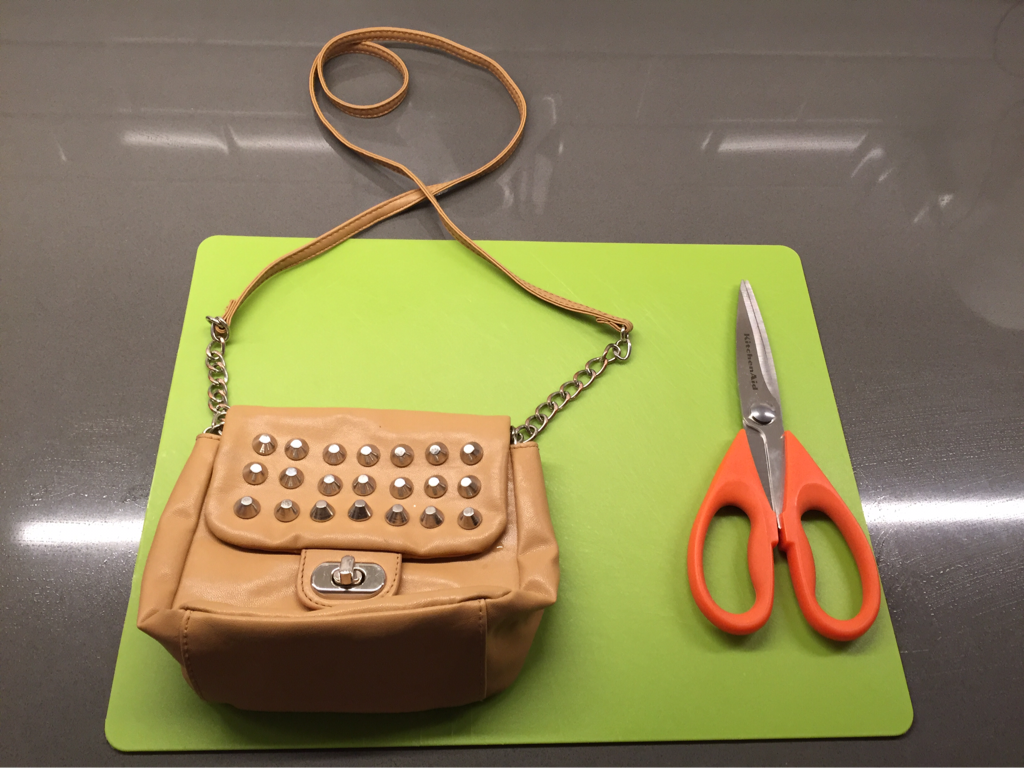
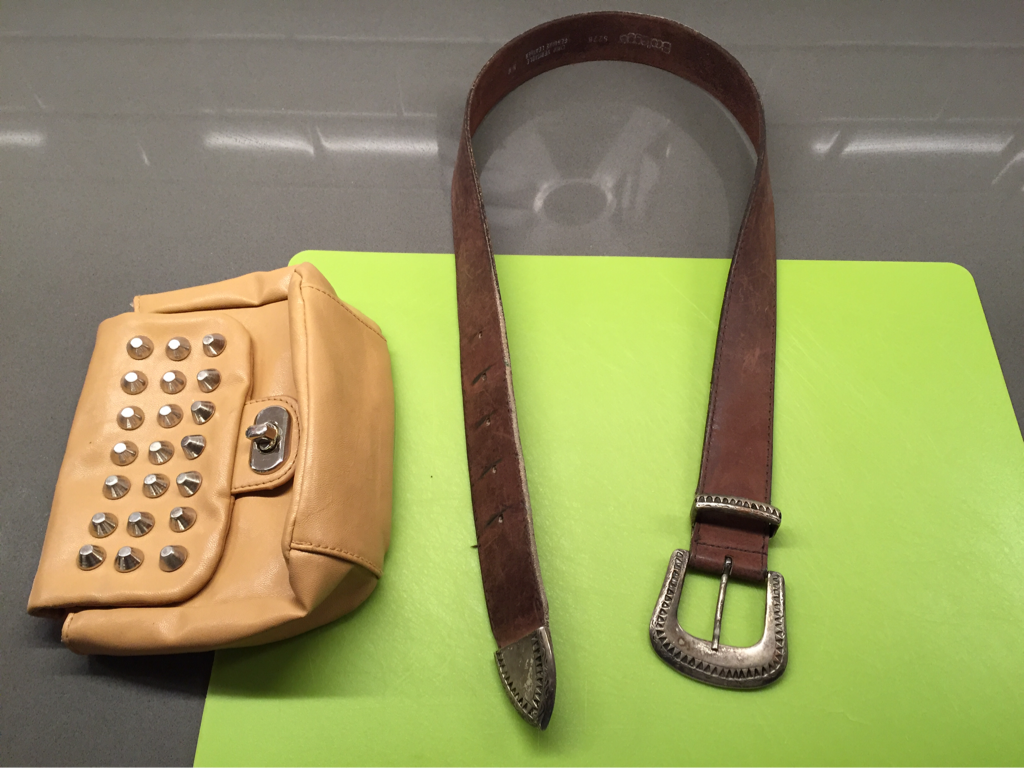
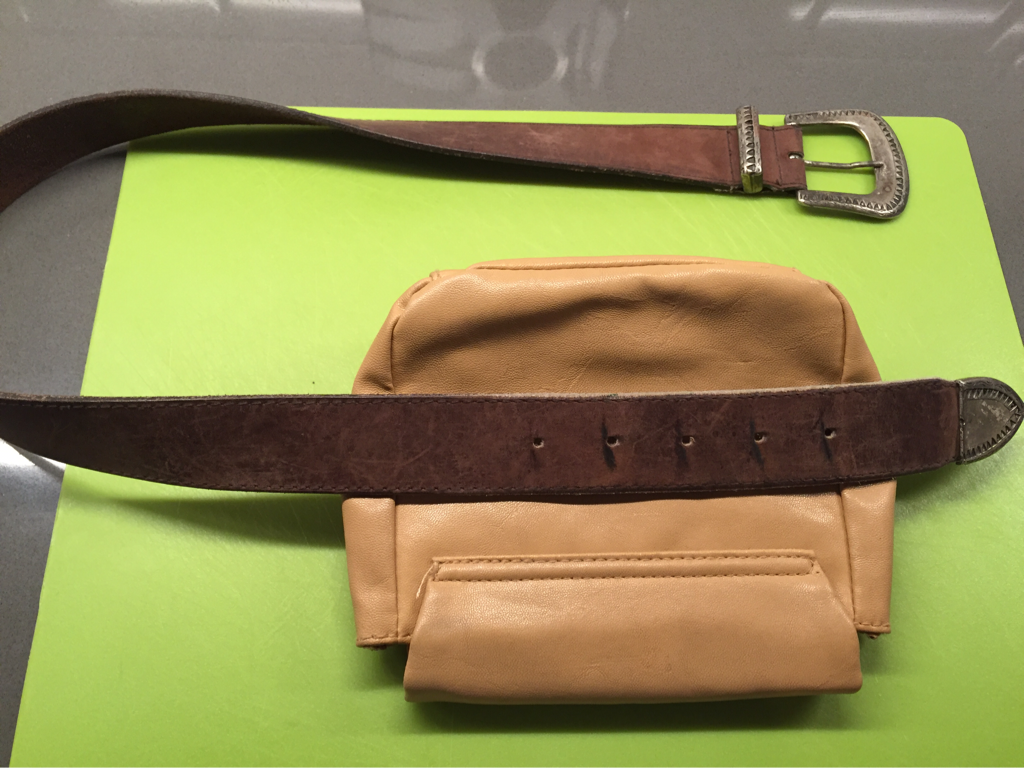
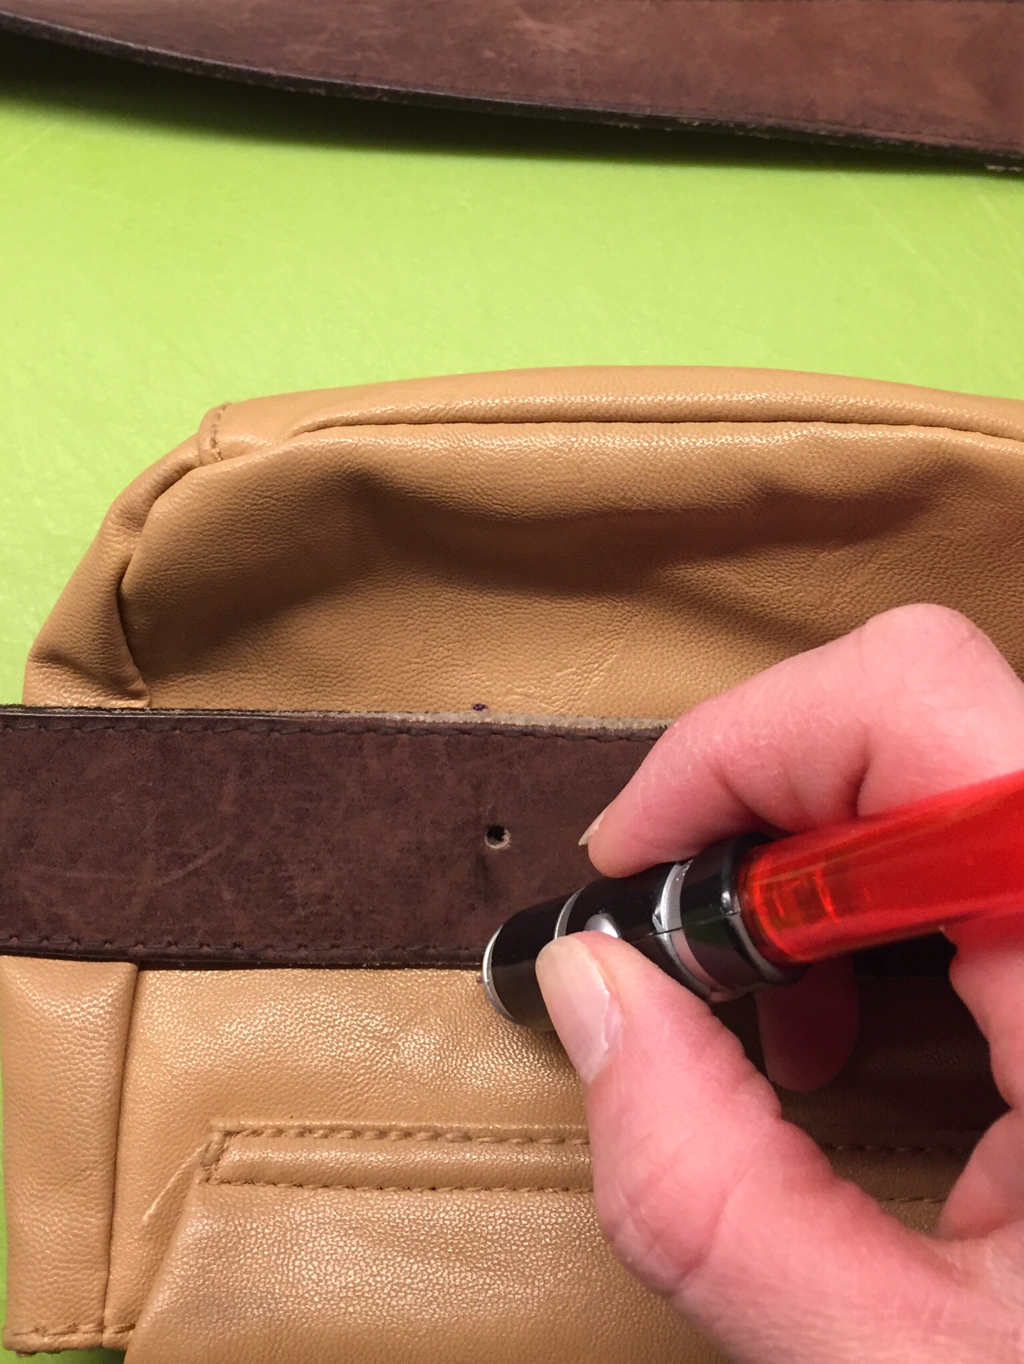
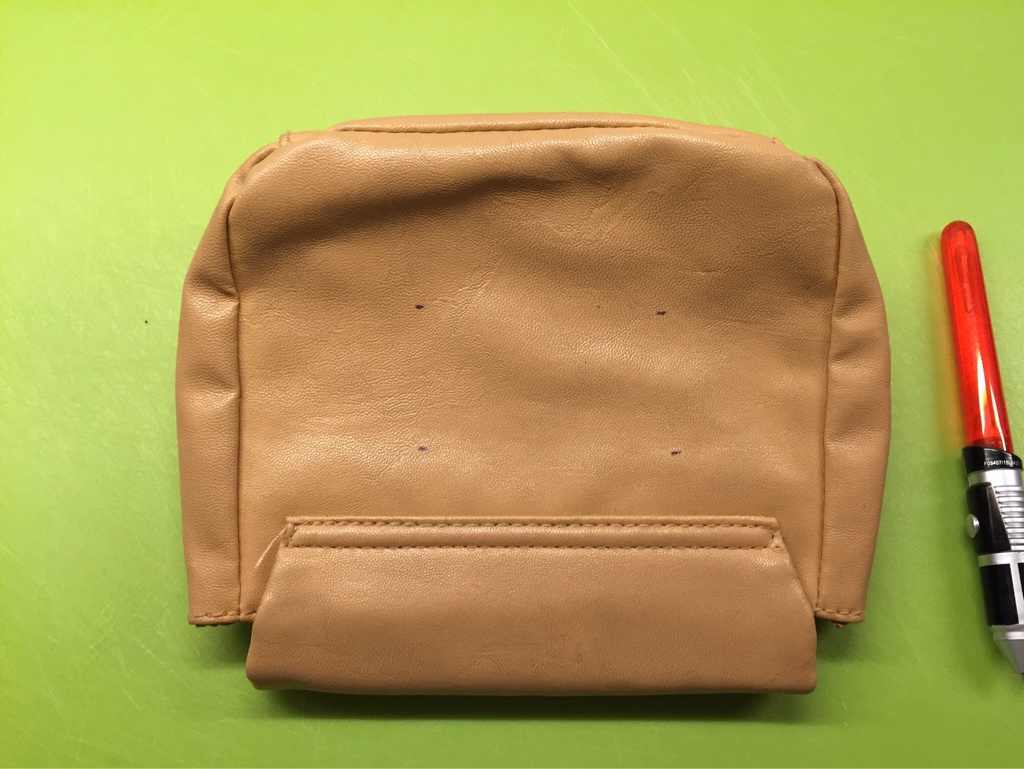
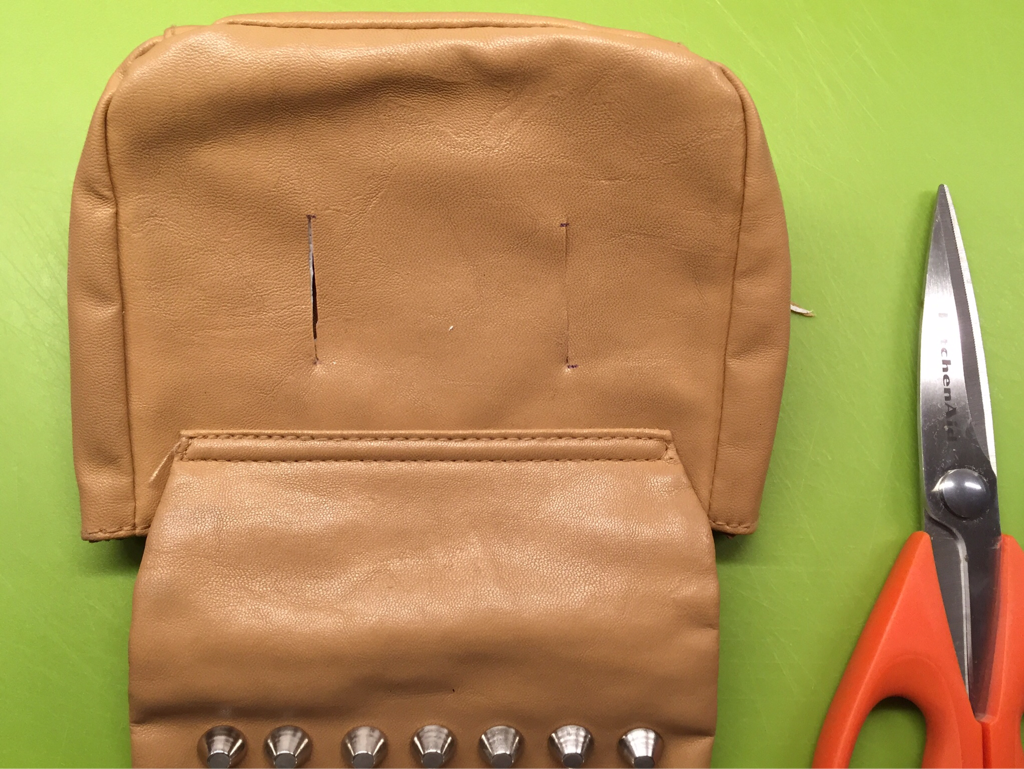
I purchased a small faux leather purse and a belt from my local thrift store for 9$. I cut off the strap. I then placed the belt on the back of the purse. I marked the width of the belt in four locations, as shown below. I proceeded to cut two openings and then inserted the belt.


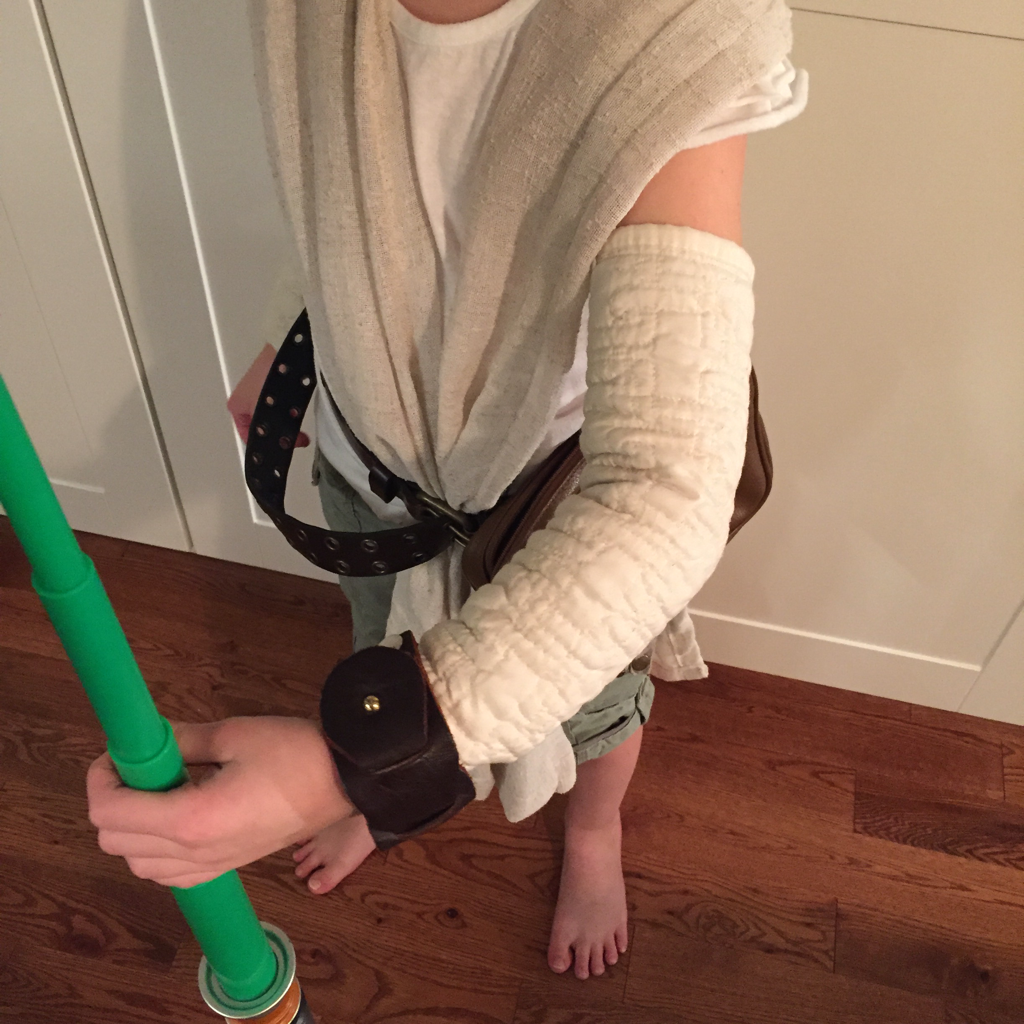
Rey's Leather Cuffs
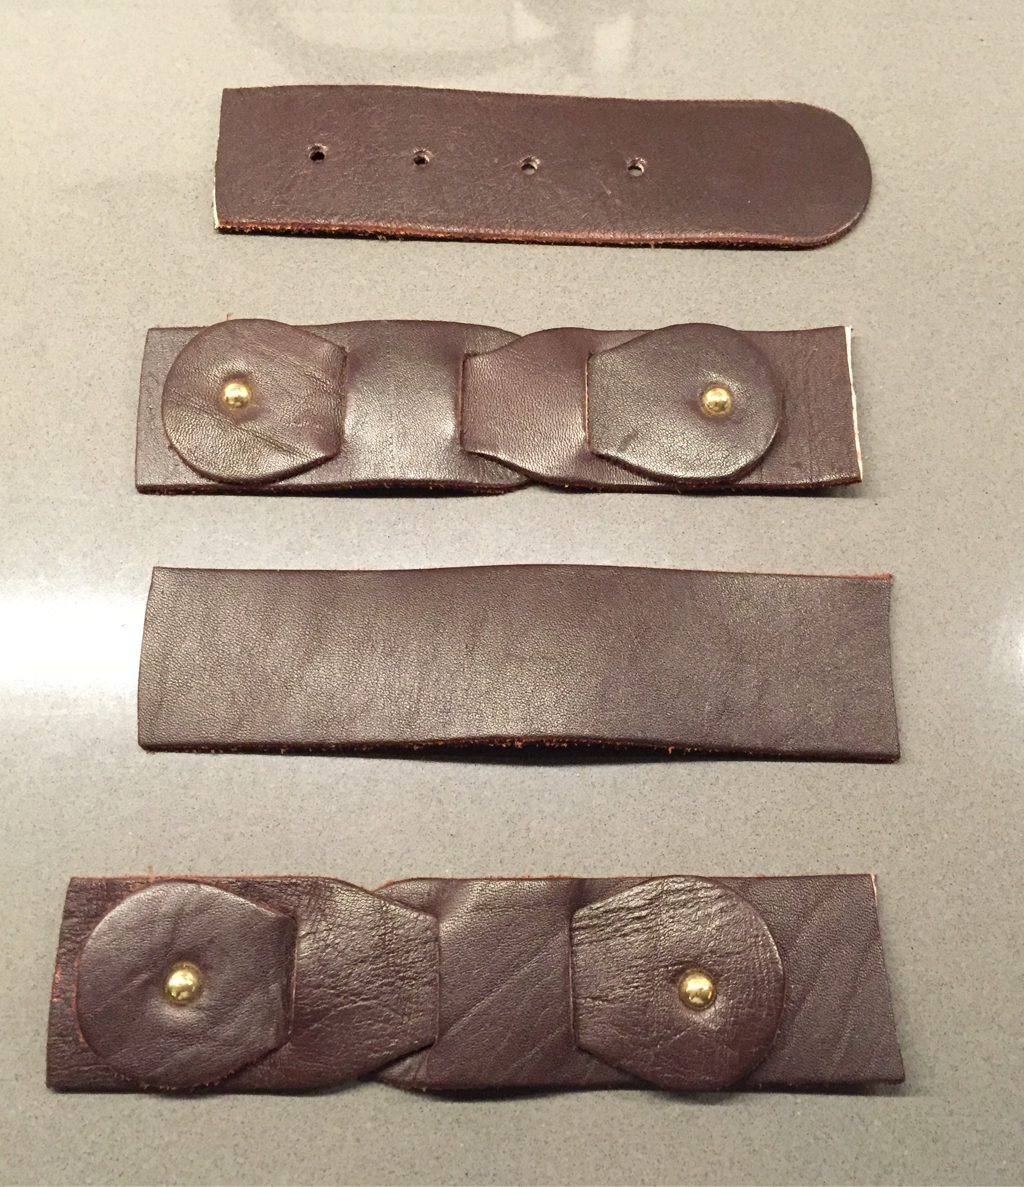
I also purchased a leather belt for 6$, it had great details and knew it would be perfect for the costumes cuffs.
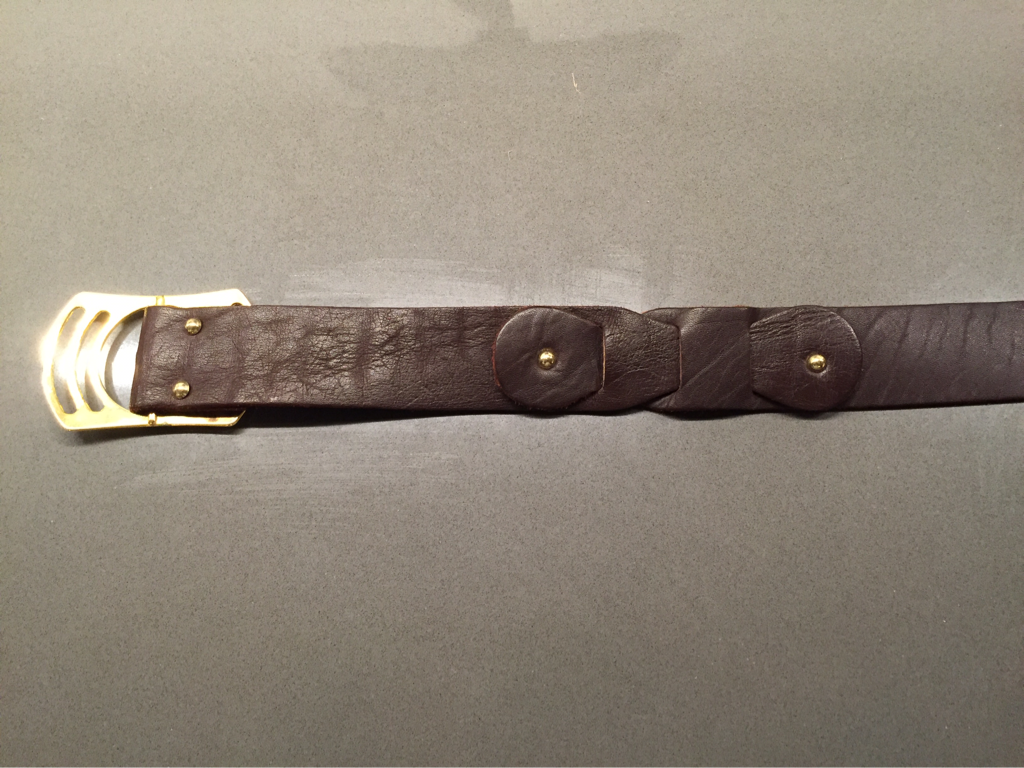
I measured my daughter's wrists (leaving extra room for her to be able to pull the cuff on and off without undoing it). and cut the belt as per the lengths needed. I bought snaps from my local hobby store and installed two snaps for each cuff.

Rey's Panel Wraps
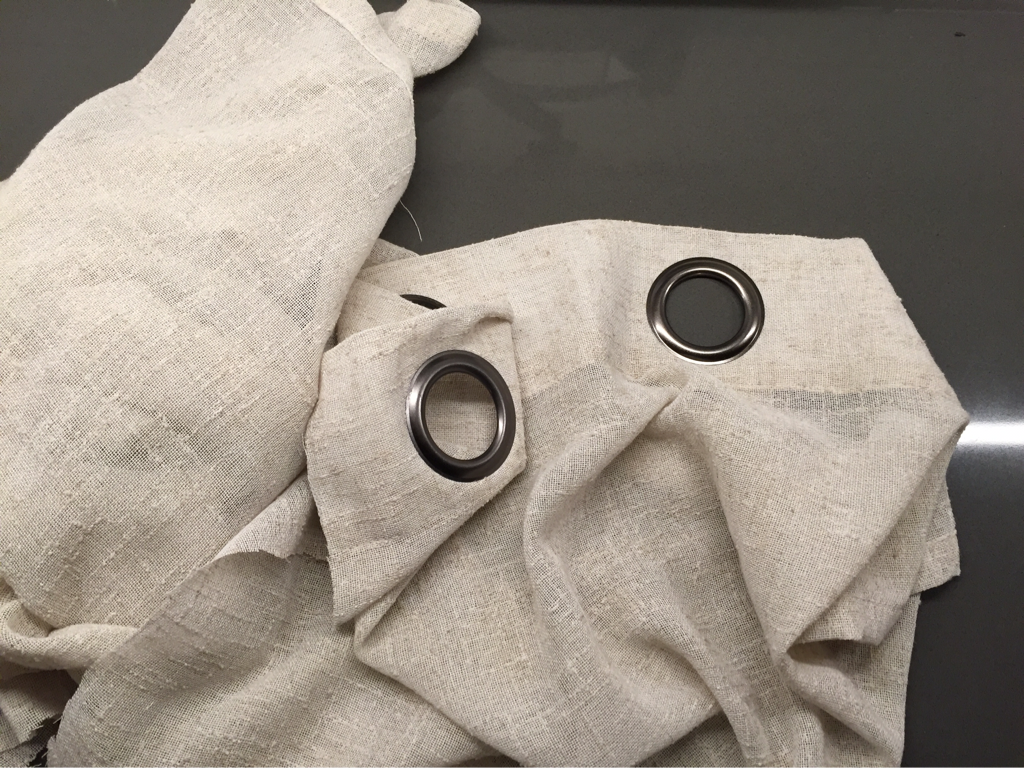
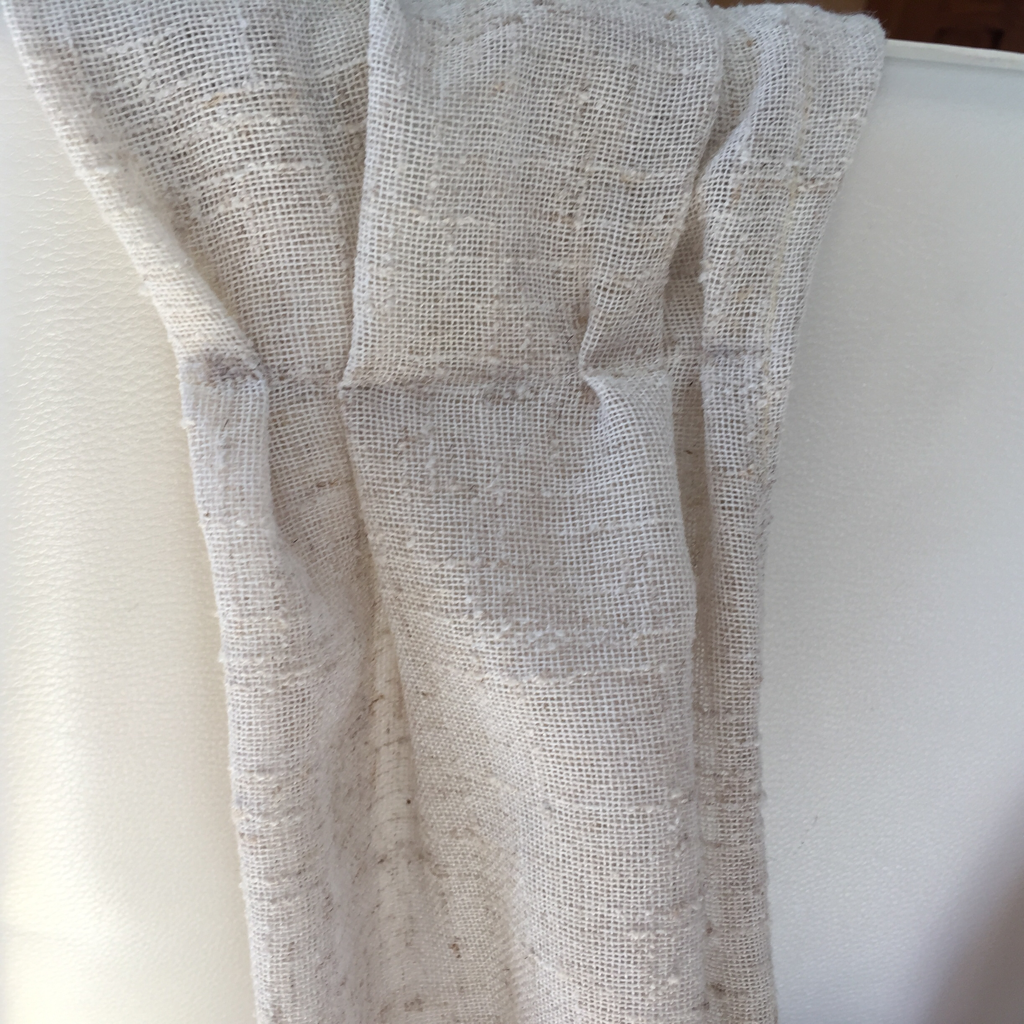
I found the perfect material for the panels in the drapery section of the thrift store. A one panel drape, 60"x84", in the perfect colour and fabric for 1.99$! Can't beat that! I then folded the panel lengthwise and cut along the creased edge. I then folded each new panel lengthwise again and cut along the folded edge, giving me 4 panels that are 15"x84". I cut off the top part of the panel with the metal circles. I then finished all the sides of each panel by sewing the edges. I did this on 4 panels (I have two daughters...).

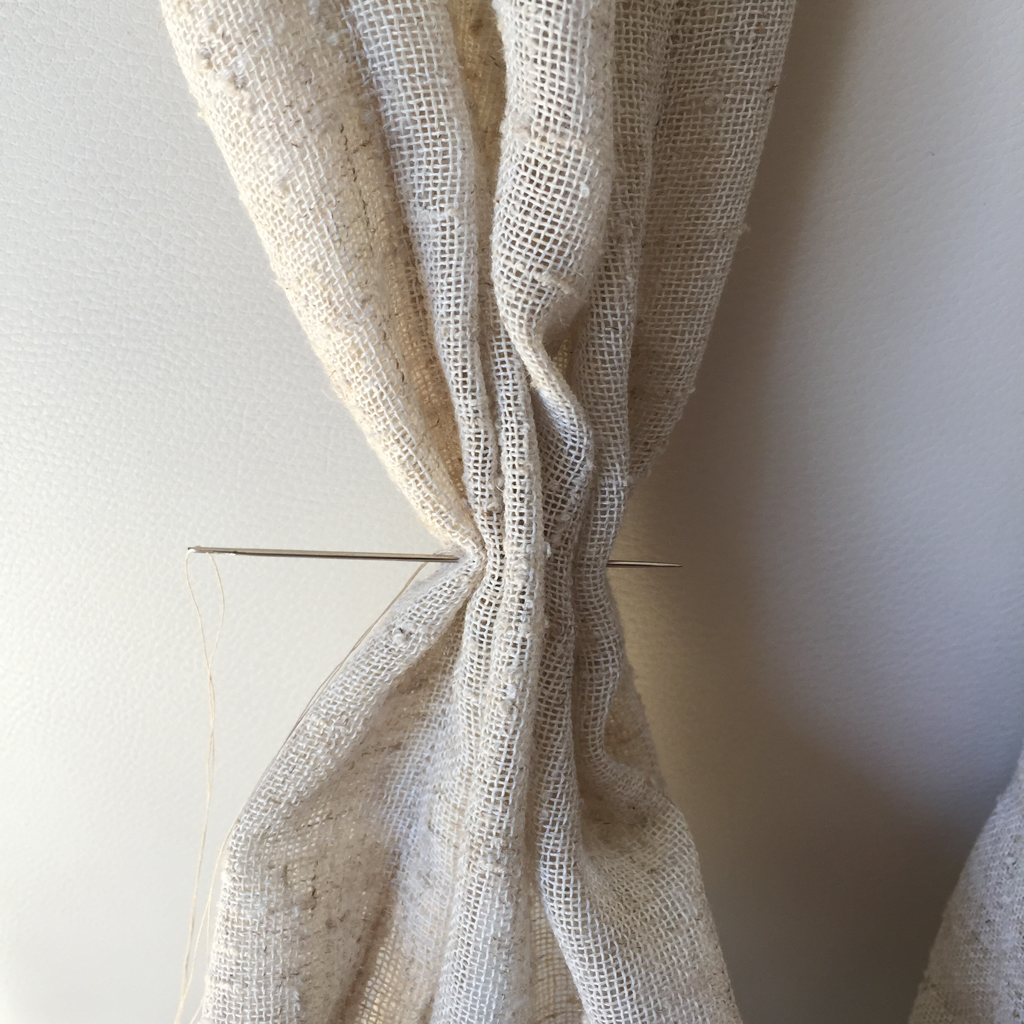
I draped two panels on either side of my daughter head and adjusted the height so that it was not to low. I then gathered the front panels together at the height of her waist. Using a needle and thread I sewed the gathered section. At the back, instead of gathering the fabric of the panels, I crossed the panels and tied them using leftover fabric. The panels were a bit too long at the back, so I cut some off and re-sewed the edges.
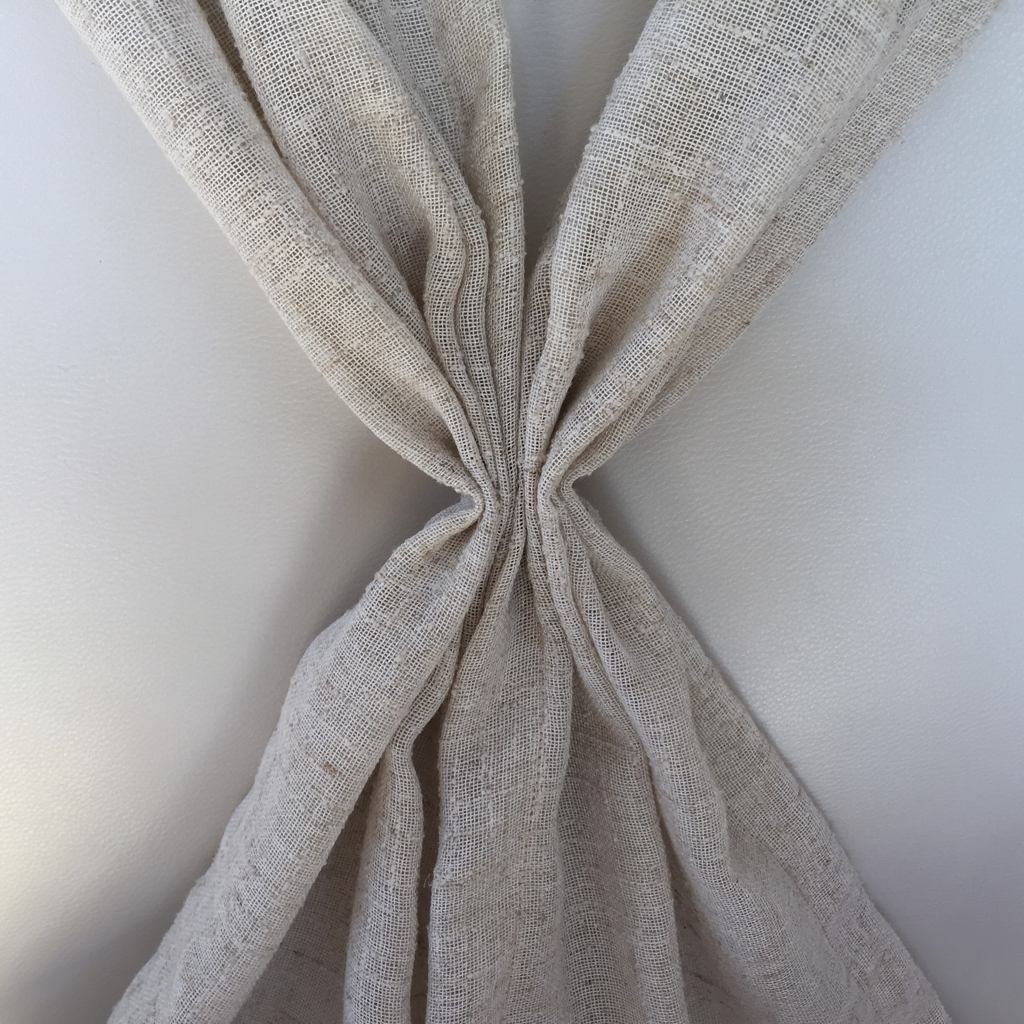
I also decided to gather the fabric of each panel at my daughter's shoulder level, this way the panels would stay gathered and have less chances of slipping off. Once finished, my daughter had only to slip on the panels over her head and tie the belt to keep everything in place.


 RSS Feed