MoodzDesign
613.290.8458
moodzdesign@yahoo.ca
  • Home
  • About
  • Blog
  • Showers
  • Engagement Dinners
  • Parties
  • Birthday
  • Corporate
  • Portfolio
  • Contact Us

Our Awesome Vet Clinic!!

4/17/2016

1 Comment

 
Picture
My girls love to play with their plush animals and like to pretend that they are sick and need to be taken care of.

So I headed to my local dollar store and spent 40$ on various items and transformed our EXPEDIT bookcase from IKEA into a Veterinarian Clinic for my little ladies!
Picture
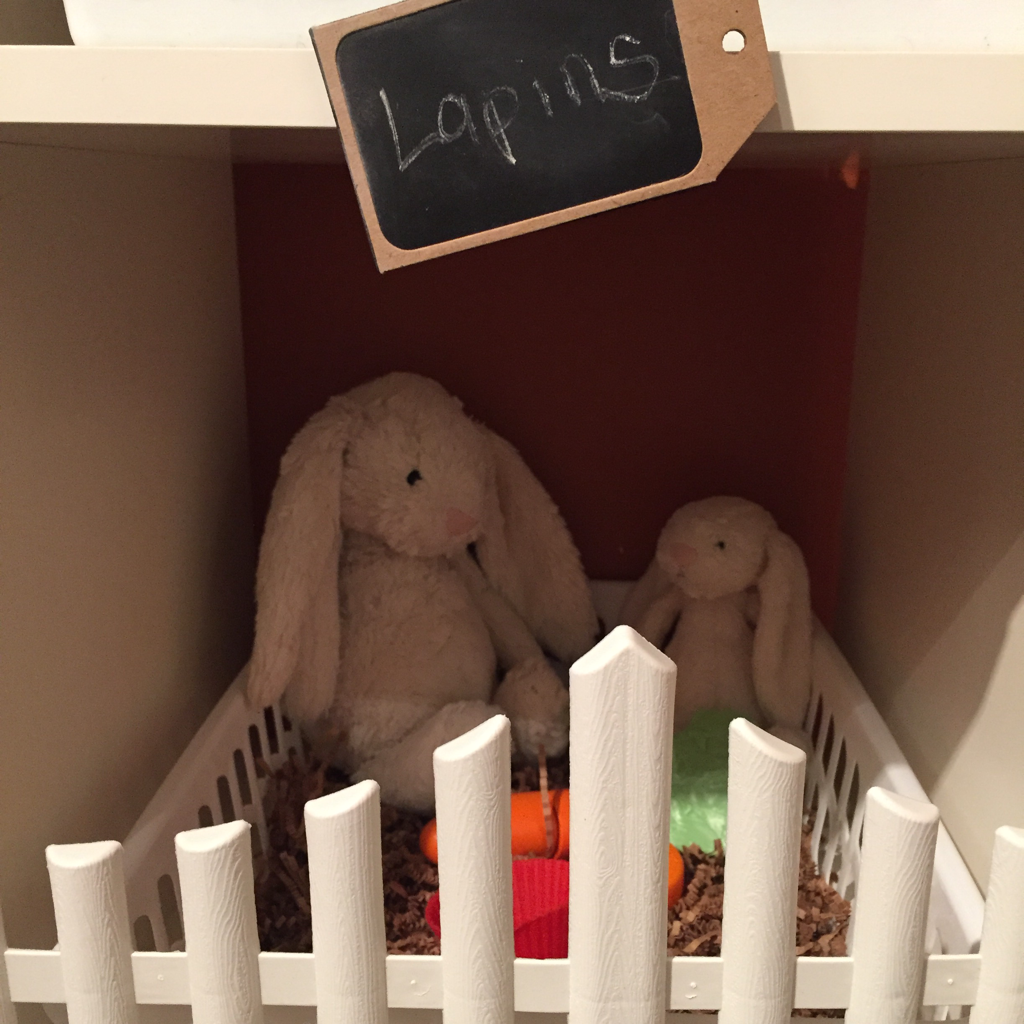
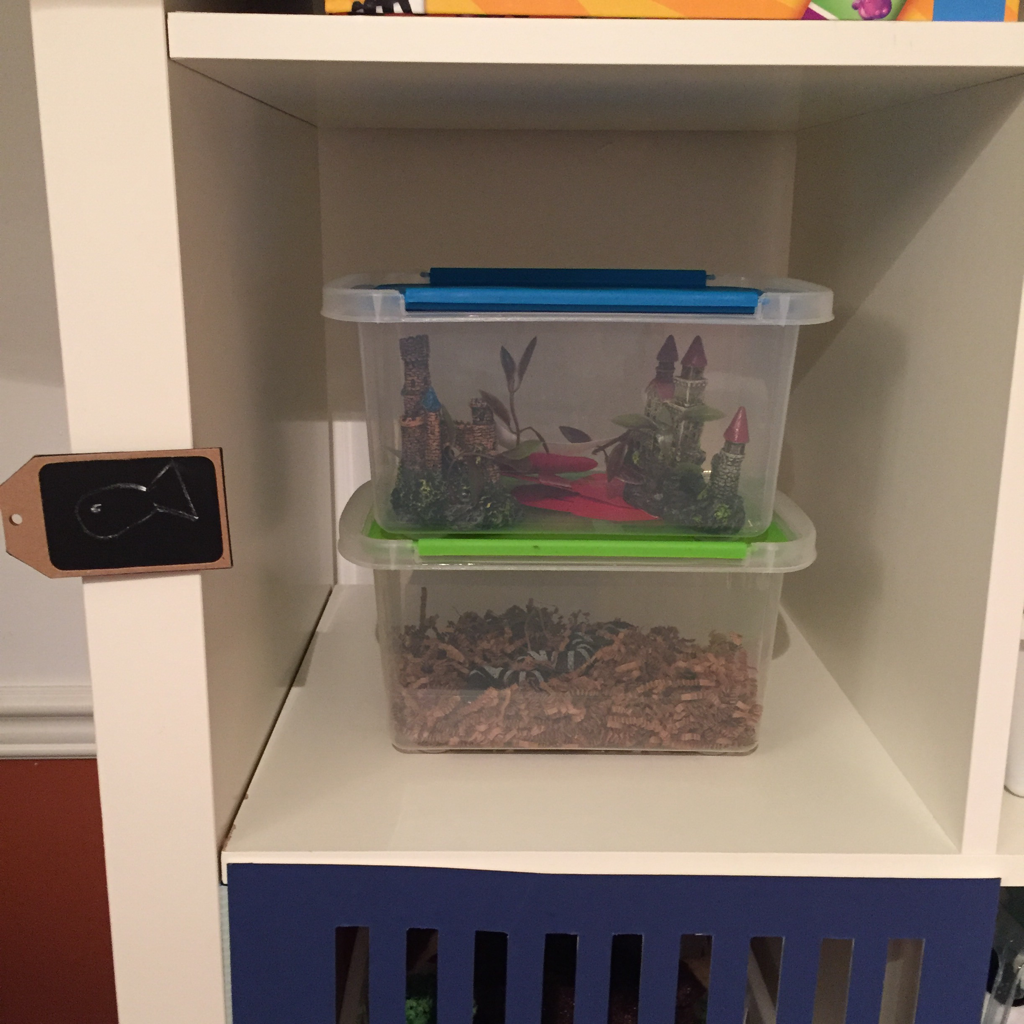
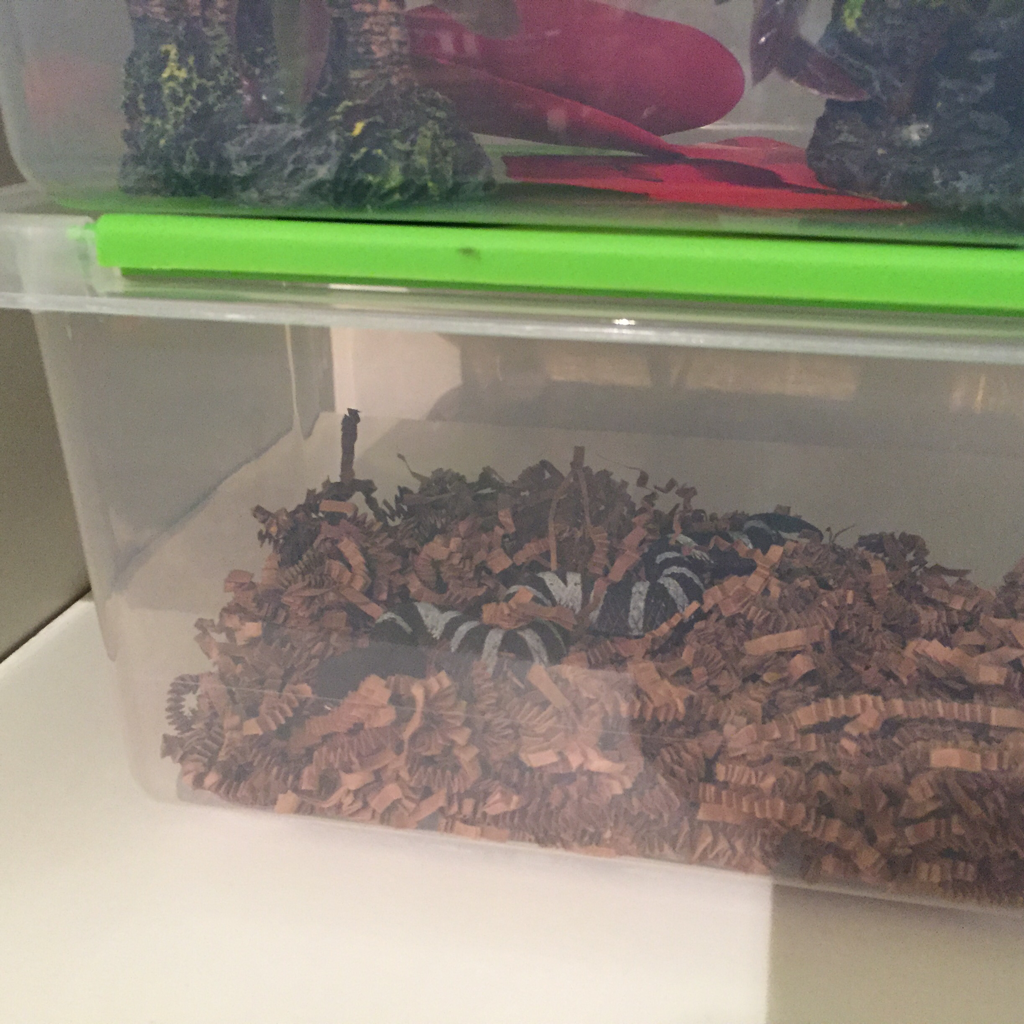
I placed small plastic baskets in some of the cubbies of the bookcase and filled them with green or brown coloured crèpe paper. I added 1 or 2 small bowls in each basket for "food" and "water". I purchased pompoms for "food" and blue tissue paper for "water". Added a small sign at the top of each cubby to write down the animals name.
Picture
Picture
Picture
Picture
Picture
For some of the cubbies I created cages. I cut out "cage fronts" out of cardboard and added duct tape to one side to act as the hinges and added Velcro to the other side, so that the cages could open and close.
Picture
Picture
Picture
Picture
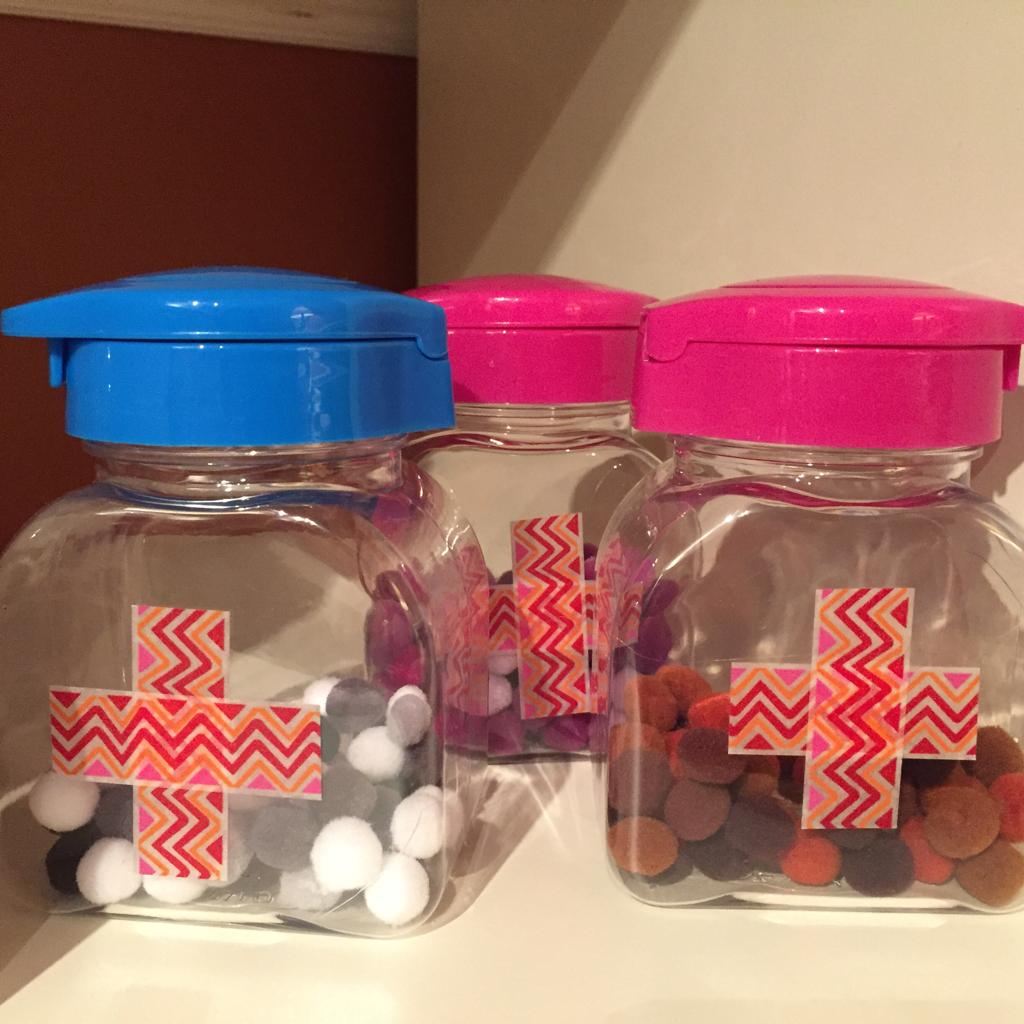
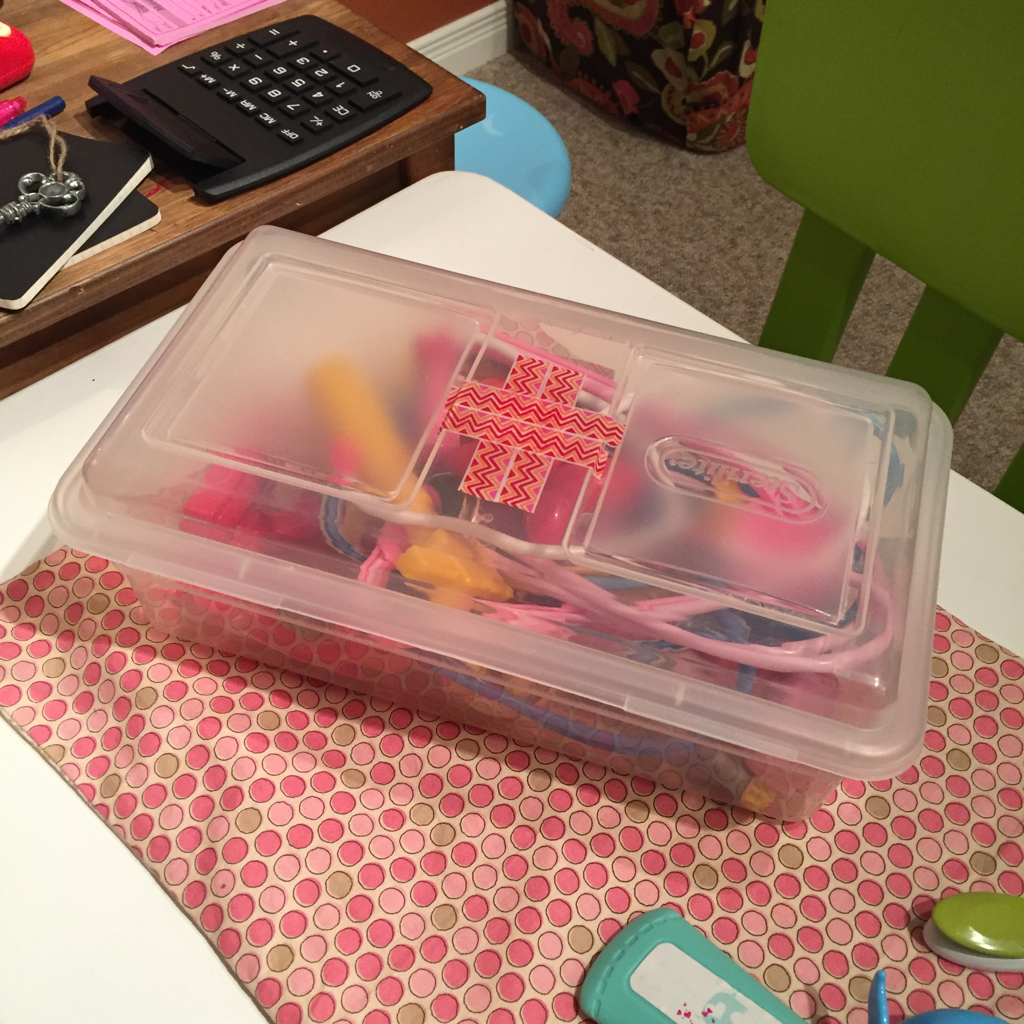
Added decorative tape to random small containers for "medications" and medical supplies.
Picture
Picture
Added our Doctor type tools to the play area to take care of the animals.
Picture
I setup a table for the administrative duties of the clinic. A small cash register, calculator, note pad, an X-ray machine (plastic container with a tap light inside), telephone, pens etc.
Picture
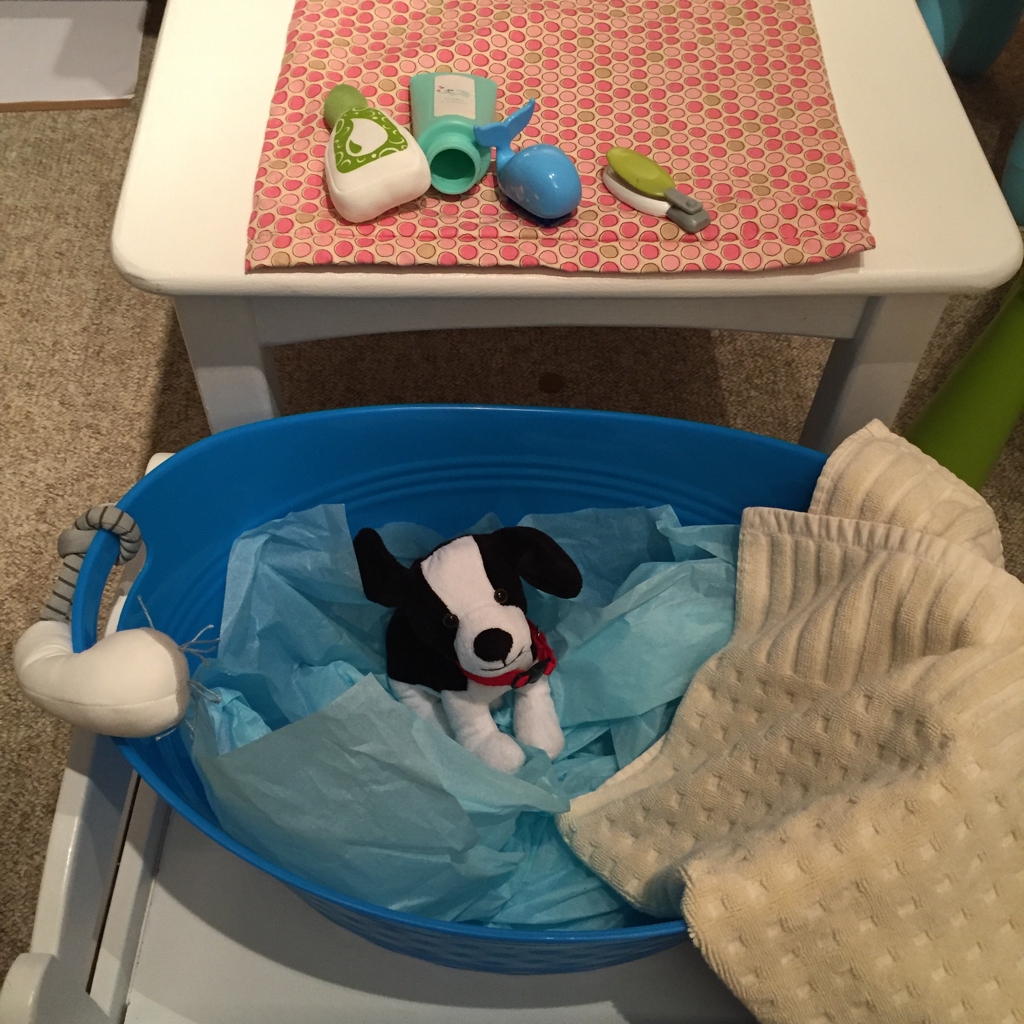
Added another table for checkups and bath time. Added tissue paper to make water and added soap, shampoo, brushes, small towel, etc to take care of the animals.
Picture
And last but not least I added a waiting area for all the patients! This project was a huge success and my girls are thrilled to be "real" veterinarians!
Picture
1 Comment

Movie Night Birthday Party 

4/16/2016

0 Comments

 
An underwater themed birthday party yet again for my eldest. We even added an outdoor viewing of Dolphin Tail.
Picture
Picture
Simple decorations and a simply decorated cake kept the costs low and easy to do yourself.
Picture
All guests were asked to bring a pillow and a blanket to keep warm during the movie. Each guest received a juice box, some popcorn and small variety of candies.

Turned out awesome and the birthday guests adored it. Couldn't ask for anything more!
0 Comments

DIY Rey Costume from Star Wars: The Force Awakens

4/12/2016

1 Comment

 
This is Rey, the newest hero from Star Wars: The Force Awakens. I was unable to find costumes for two daughters, so I decided to make them myself.
Picture

Rey's Sleeves

Rey's sleeves are made of what look like bandages in the movie, but that seemed a little to difficult for a child to put on.  I needed something easy to put on and to take off.  I found this pillow sham at my local thrift store for 1,99$ and thought not only is the colour good, but the texture would be perfect for this project.
Picture
First thing I did was measure the length of my daughter's arms and cut a straight line across the sham (middle vertical cut below). Then I measured my daughter's wrists and upper arms, and cut at a diagonal (upper cuts below).
Picture
This is the reverse of one sleeve. I then sewed the unfinished edges.  Next I folded the fabric in half, unfinished side up. Sewed the length of the fabric, creating a closed sleeve cuff.  Then put the fabric right side up and voilà!
Picture
The top of the picture below is the wrist part of the sleeve (slightly narrower) and the bottom is the upper arm part of the sleeve. Repeated the same steps for the other sleeve.
Picture
Picture

Rey's Belt and Satchel

I purchased a small faux leather purse and a belt from my local thrift store for 9$. I cut off the strap. I then placed the belt on the back of the purse. I marked the width of the belt in four locations, as shown below. I proceeded to cut two openings and then inserted the belt.
Picture
Picture
Picture
Picture
Picture
Picture
Picture
Picture

Rey's Leather Cuffs

I also purchased a leather belt for 6$, it had great details and  knew it would be perfect for the costumes cuffs.
Picture
I measured my daughter's wrists (leaving extra room for her to be able to pull the cuff on and off without undoing it). and cut the belt as per the lengths needed. I bought snaps from my local hobby store and installed two snaps for each cuff.
Picture
Picture

Rey's Panel Wraps

I found the perfect material for the panels in the drapery section of the thrift store. A one panel drape, 60"x84", in the perfect colour and fabric for 1.99$! Can't beat that! I then folded the panel lengthwise and cut along the creased edge.  I then folded each new panel lengthwise again and cut along the folded edge, giving me 4 panels that are 15"x84".  I cut off the top part of the panel with the metal circles.  I then finished all the sides of each panel by sewing the edges.  I did this on 4 panels (I have two daughters...).
Picture
Picture
Picture
I draped two panels on either side of my daughter head and adjusted the height so that it was not to low.  I then gathered the front panels together at the height of her waist.  Using a needle and thread I sewed the gathered section.  At the back, instead of gathering the fabric of the panels, I crossed the panels and tied them using leftover fabric. The panels were a bit too long at the back, so I cut some off and re-sewed the edges.
Picture
Picture
I also decided to gather the fabric of each panel at my daughter's shoulder level, this way the panels would stay gathered and have less chances of slipping off. Once finished, my daughter had only to slip on the panels over her head and tie the belt to keep everything in place.
Picture
Picture
Picture
Picture
Picture
Picture
Picture
1 Comment

DIY Lightsaber

4/9/2016

0 Comments

 
Simple and inexpensive DIY light up lightsabers

Bought bubble wands (3$) and metal flashlights (3$) from the dollar store. Removed the cover of the bubble wand ( this part can be thrown out) poured out the bubble solution, rinsed it out and then let it dry. Next, I taped the opening of the wand to the top (where the light comes out) of the flashlight. I taped it with a few layers of black duck tape to make sure it stayed in place. Decorate the flashlight with bits and pieces of black and red duck tape and voilà, took 10 minutes to make!

​Idea from Lemon Lime Adventures (​http://lemonlimeadventures.com/diy-lightsaber-really-works/#_a5y_p=4301897)
Picture
Picture
0 Comments

    Archives

    April 2016
    March 2016
    February 2016
    September 2015
    August 2015
    September 2014

    Categories

    All

    RSS Feed

Proudly powered by Weebly